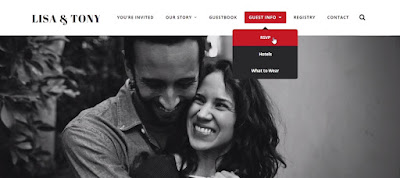
It's just a grid pattern, and it's not very interesting. So we need to do something about that. But then we have these two last pieces, protected guest info and and protected RSVP. And now I want to dive into this a little further, to explain exactly what I'm thinking. If anyone visited the site right now, they'd be able to go the Guest Info section where they would get all the information about the wedding, and they'd also be able to go to the RSPV page and RSVP to the site. Now, it's true that the chances of anyone you don't know RSVPing to your wedding and you accepting their RSPV is very rare. But in some cases, people want to keep this information away from the public eye for various reasons. If that's what you wanna do, I'm gonna show you how you can set up your site in such a way that you create a new type of user. That type of user needs to register on a secret page and, once registered, will be able to gain access to the Guest Info and also respond to the RSPV. My goal here is to enable you to send either an invite or an email to your invited guests and say, "Here is a code and a URL. "Go to the URL, enter the code, "and then you'll be registered on the site "so that you can answer the RSVP and get all the information "about where the wedding is happening "and what you need to bring, et cetera." There's an added benefit to this. Once you've added your guests as users on the site, you can later give them more abilities, like for example, posting up their own wedding photos so that you get all the wedding photos on your website. So this is not just a matter of locking down the website only for your invited guests. It also gives your guests added abilities for later.

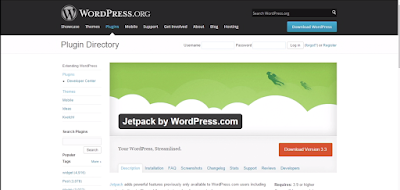
To meet the requirements, I'm gonna install four different plugins in this section of the course. The first plugin is Jetpack. If you haven't encountered Jetpack before, this is not like other plugins. Jetpack is a container that holds within it a set of different plugins that add different functionalities to your site. You install Jetpack, link it up to your WordPress.com account, and then you can take advantage of these different features. The features we're gonna use in this course are Tiled Galleries, which will make our photo galleries look much better, the Carousel feature, which, when you click on a gallery image, will pop that image up in a full screen display and give the visitor a much greater experience of those photos, and the Contact Form feature, which allows us to create contact forms, or, in our case, the RSVP form.

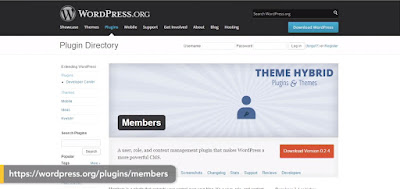
The next plugin is called Members, and it allows us to create new types of users in our WordPress site. And what I'm gonna do is, create a new user type called Wedding Guest, and then assign specific abilities to just this user. That way, I can control what my wedding guests can and cannot do on my site. I also want to control who gets to see what items on the menu. You see, right now, even if I created a new type of user and then said only those users get to see specific content on my site, every visitor will still be able to see all the menu items. By adding the Nav Menu Roles plugin, I'll be able to control which menu items are seen by which types of users, so that only logged-in users will be able to see the links that go to the wedding information and RSVP. And finally, I'll add Pie-Register. This plugin allows me to control the registration form on WordPress. This is the place you'll send all your guests to register on the site, and it includes things like customizing the appearance of the registration form so they know they're in the right place, an invitation code feature so you can send a specific, cryptic, invitation code only to your guests and they have to enter that code to be able to register, and also redirect, so you can redirect the guests to specific pages once they're logged in. Combining these four plugins will help me meet all my requirements for the site, and in the following movies, I'll show you how to set up each of them and then get the right features out of them so we get the site built up the way we want.
Không có nhận xét nào:
Đăng nhận xét